
Calibrating your AccuPro DROP
Following this guide to maintain the accuracy and reliability of your AccuPro DROP spreader, to ensure optimal application every time it is used.
23 February 2026
2 mins
On this page:
AccuPro DROP calibration video guide
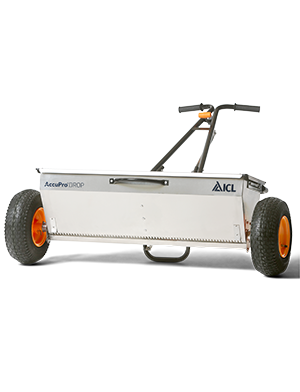
The AccuPro DROP uses two independently driven agitators, powered by the left and right wheels. These maintain an even flow of material through the hopper aperture.
How to calibrate the AccuPro DROP
- Set the SmartDial™ to 13 and open the shutter.
- Access aperture holes Place the spreader on its handles so you can easily reach the holes
- Loosen the 10mm bolts on both sides of the shutter bar. There are four bolts in total: two on the left and two on the right.
- Insert calibration key Count four holes from either the left or right side. Insert the calibration key into the fourth hole.
- Fold an A4 sheet in half and slide it between the shutter bar and the hopper to prevent overtightening.
- Tighten the bolts while ensuring the calibration key remains snug in the hole.
- Remove the folded A4 paper and calibration key.
- Repeat the process on the opposite side.
- Set the SmartDial™ to 13
Troubleshooting
If the holes are still misaligned, the spreader might be damaged. In this case, you might need a new shutter bar, parts, or even a complete hopper.
Read this next
