
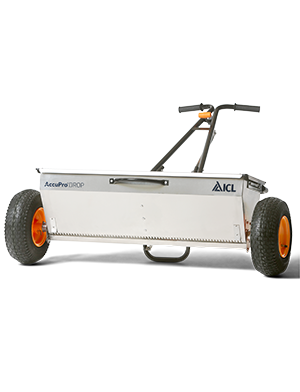
Assembling your AccuPro DROP
Follow this video guide to assemble your AccuPro DROP spreader.
15 May 2026
2 mins
On this page:
AccuPro DROP assembly video guide
Step -by-step guide to assembling the AccuPro DROP
- Lay out all spreader parts before starting assembly
- Attach the lifting handle to the front of the hopper and secure using two bolts, washers and lock nuts.
- Place the large washer on the axle.
- Push the wheel on, lining up the wheel hub with the hole in the axle.
- Push the cotter pin through the hole.
- Follow the same process for the other wheel.
- Using a pair of grips, split the cotter pin to secure the wheel to the axle. Repeat for the other wheel.
- Place the main handle section between the hopper and the hopper stabilizing bar.
- Attach the main handle section to the hopper stabilizing bracket, using the bolts and lock nuts. Do not fully tighten.
- Secure the lower part of the handle to the hopper using the bolts and lock nuts.
- Tighten the bolts and lock nuts.
- Feed the back stand through the space between the back handle and the hopper.
- Secure the back stand to the handle using the bolts and lock nuts
- Now tighten all the lock nuts attaching the main handle to the hopper and the hopper to the stabilizing bar.
- Attach the control rod. IMPORTANT: Make sure the bend is away from the spreader.
- Locate the lower end of the control rod onto the round dowel and affix with washer and small R pin.
- Repeat at the top of the handle using the second washer and R pin.
Read this next
